A guide to Installing your Vertiflute MDF Panels
February 16, 2024
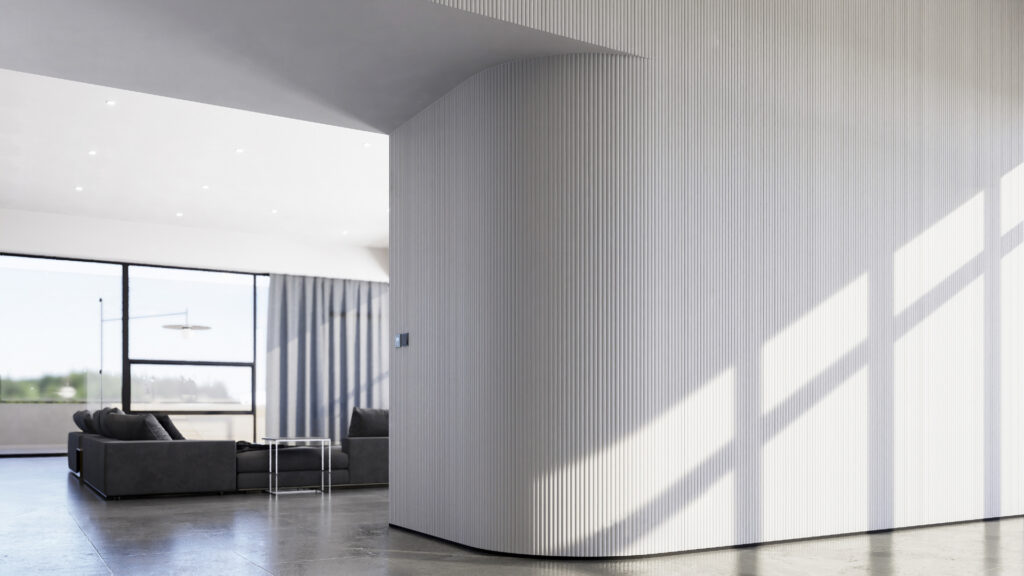
With proper guidance, installing Vertiflute panels can be a breeze. Let us show you how your Vertiflute panels can be installed.
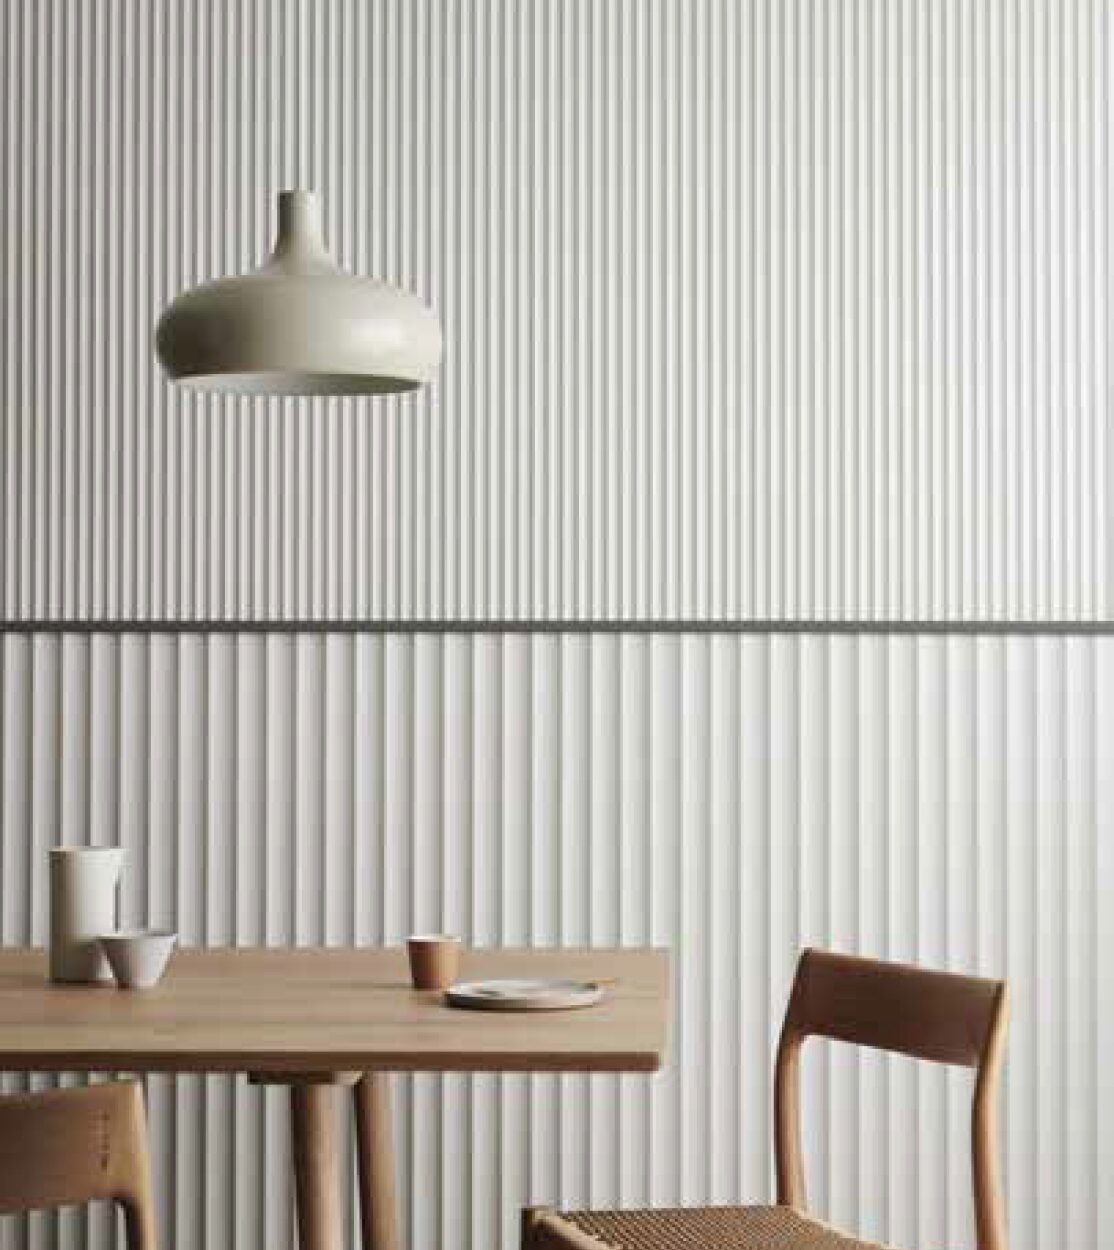
Installing MDF Panels
- Make sure that the installed light metal frames with drywall or masonry wall is plumbed and squared to the floor. When installing on plastered masonry wall, it is highly recommended to provide a 6mm thick plywood backing preferably coated with anti-moisture compound (coal tar or gloss acrylic paint) on the surface in contact with the plastered wall.
- Provide a 10mm gap at the top and Bottom of each panel and insert required s4s good lumber as panel edging. Cut the panel to required length with an angle grinder with cutting disk for wood or use a fine toothed finishing saw.
- It is recommended to use an effective wood adhesive, fully covering the backside of the vertiflute panel using a roller brush or finely notched spreader that will be attached to the plywood or drywall backing.
- For additional attachment, installer may use mechanical attachments such as finishing nails, or shoe tack.
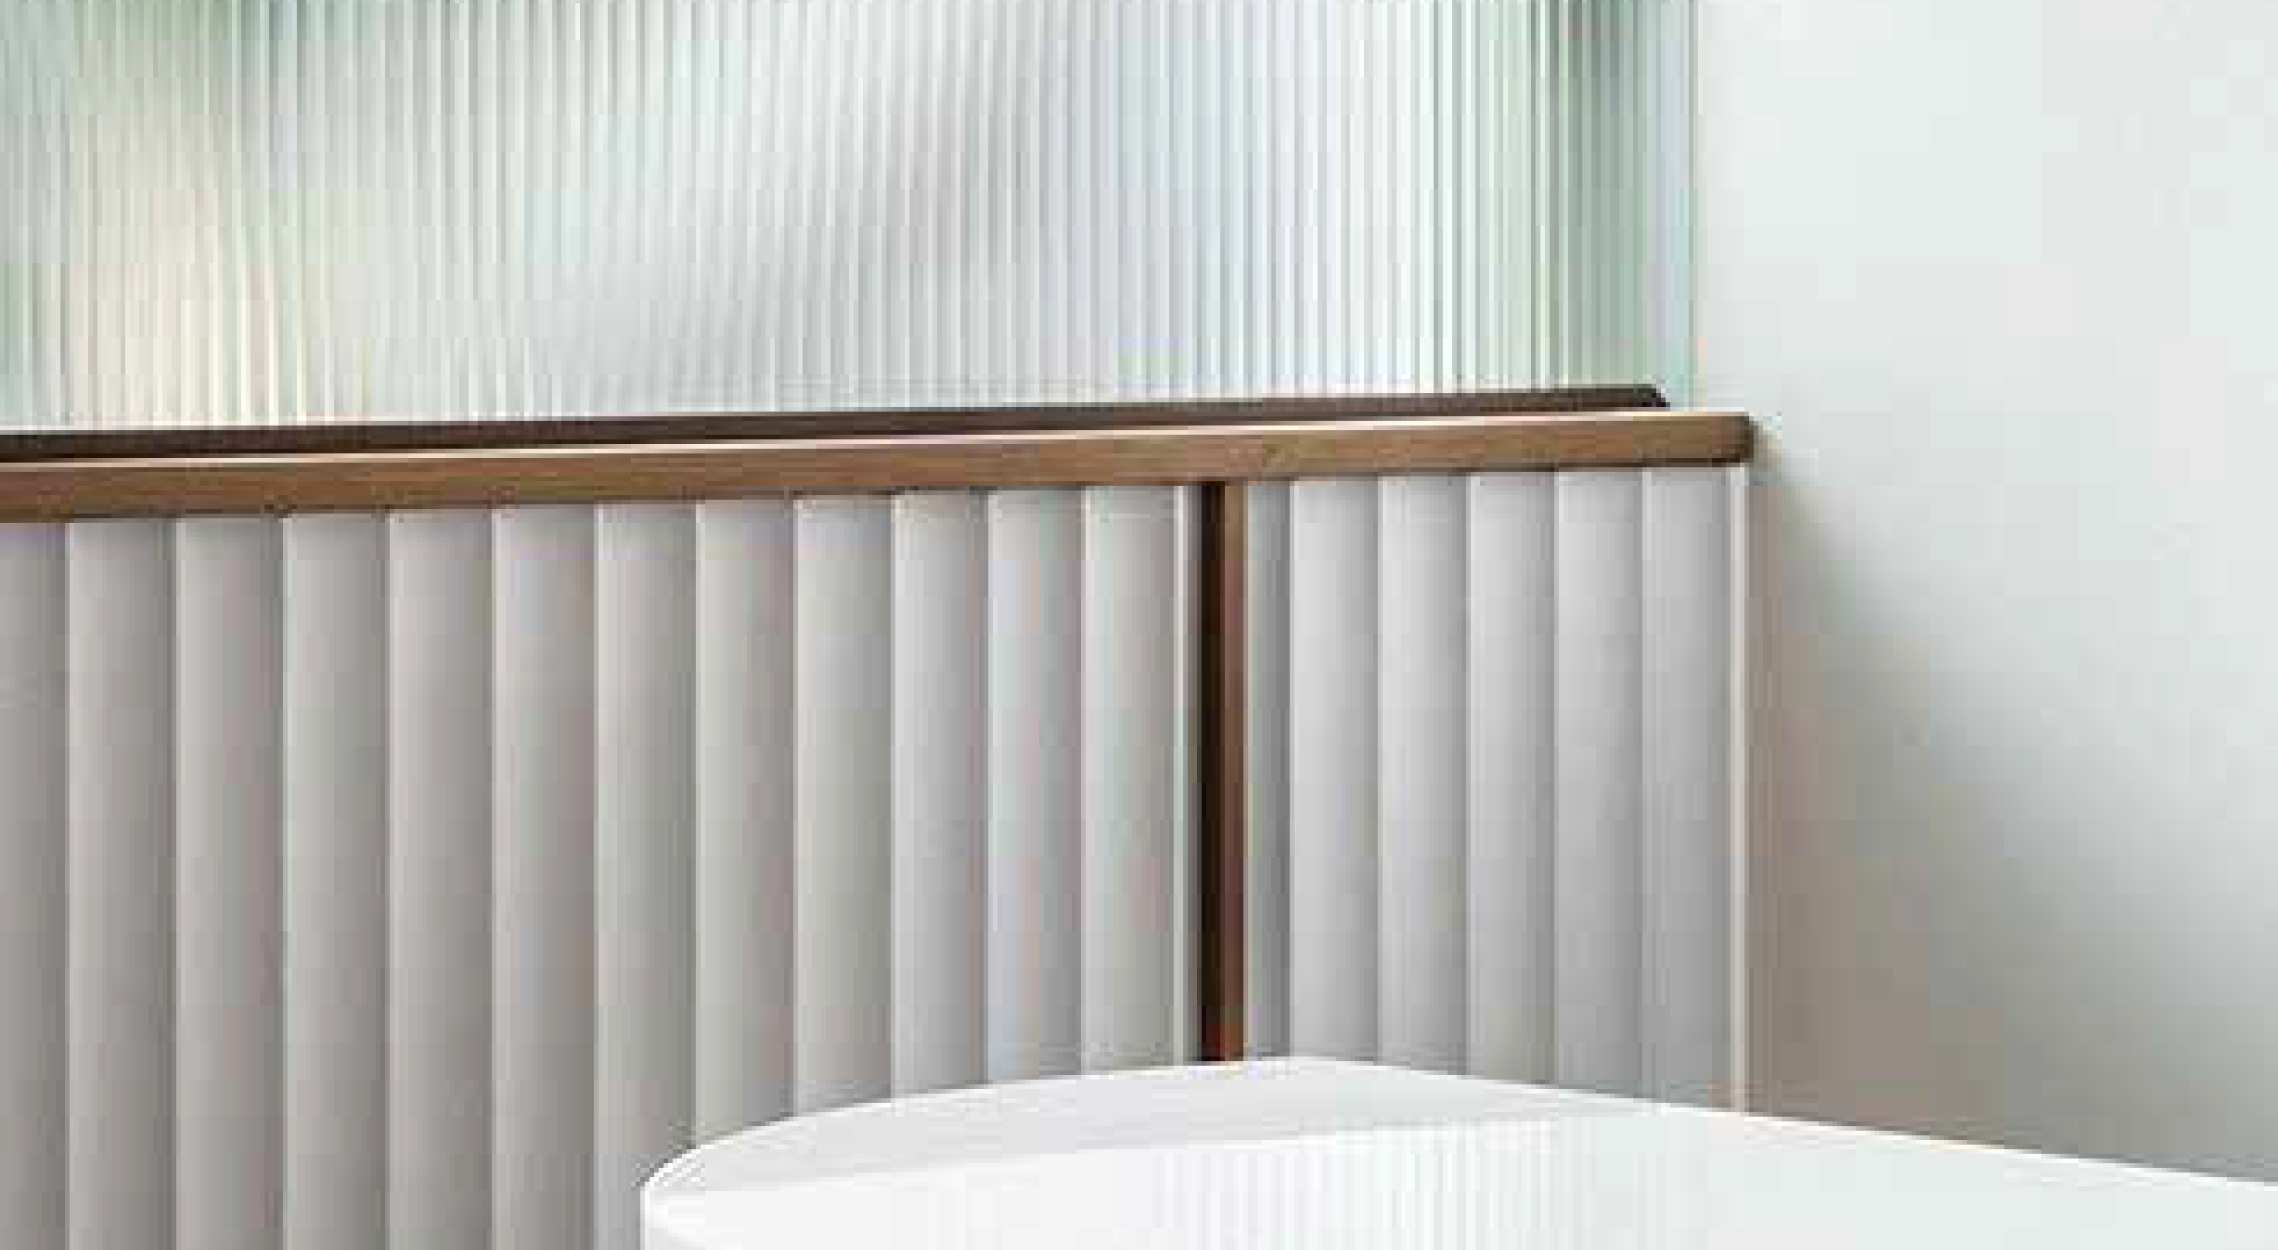
Installing MDF Flexiflute Panels
- When installing on fabricated drywall, make sure that the curved wall light metal frames are structurally sound and properly supported. Provide curved multiple layers of 1/8″ thick (3mm) plywood to attain required panel backing support.
- When installing on a curved plastered masonry wall, make sure that the wall is structurally sound and is painted with a coat of moisture repelling wall sealer. Then provide a layer of 1/8″thick (3mm) plywood which will be attached to the masonry wall and serve as the backing for the Flexiflute. We strongly recommend to apply a coat of acrylic paint (as moisture resistant coating) on the side of the plywood that will be in contact with the plastered wall. Finally attached the Flexiflute with the recommended wood adhesive.
- Sand down the back side of Flexiflute using grit 80 sandpaper then wipe clean. Apply recommended wood adhesive to the whole surface area of the panel using roller paint brush or fine notched trowel. Then press tightly to the prepared plywood backing. Never apply forceful pressing because it will crack the panels specially on area where battens were installed or where backing dents are present.
- Provide adequate gaps (about 1mm to 2mm wide) between panels due to thermal movements. Seal off gaps with recommended paintable acrylic base sealants.
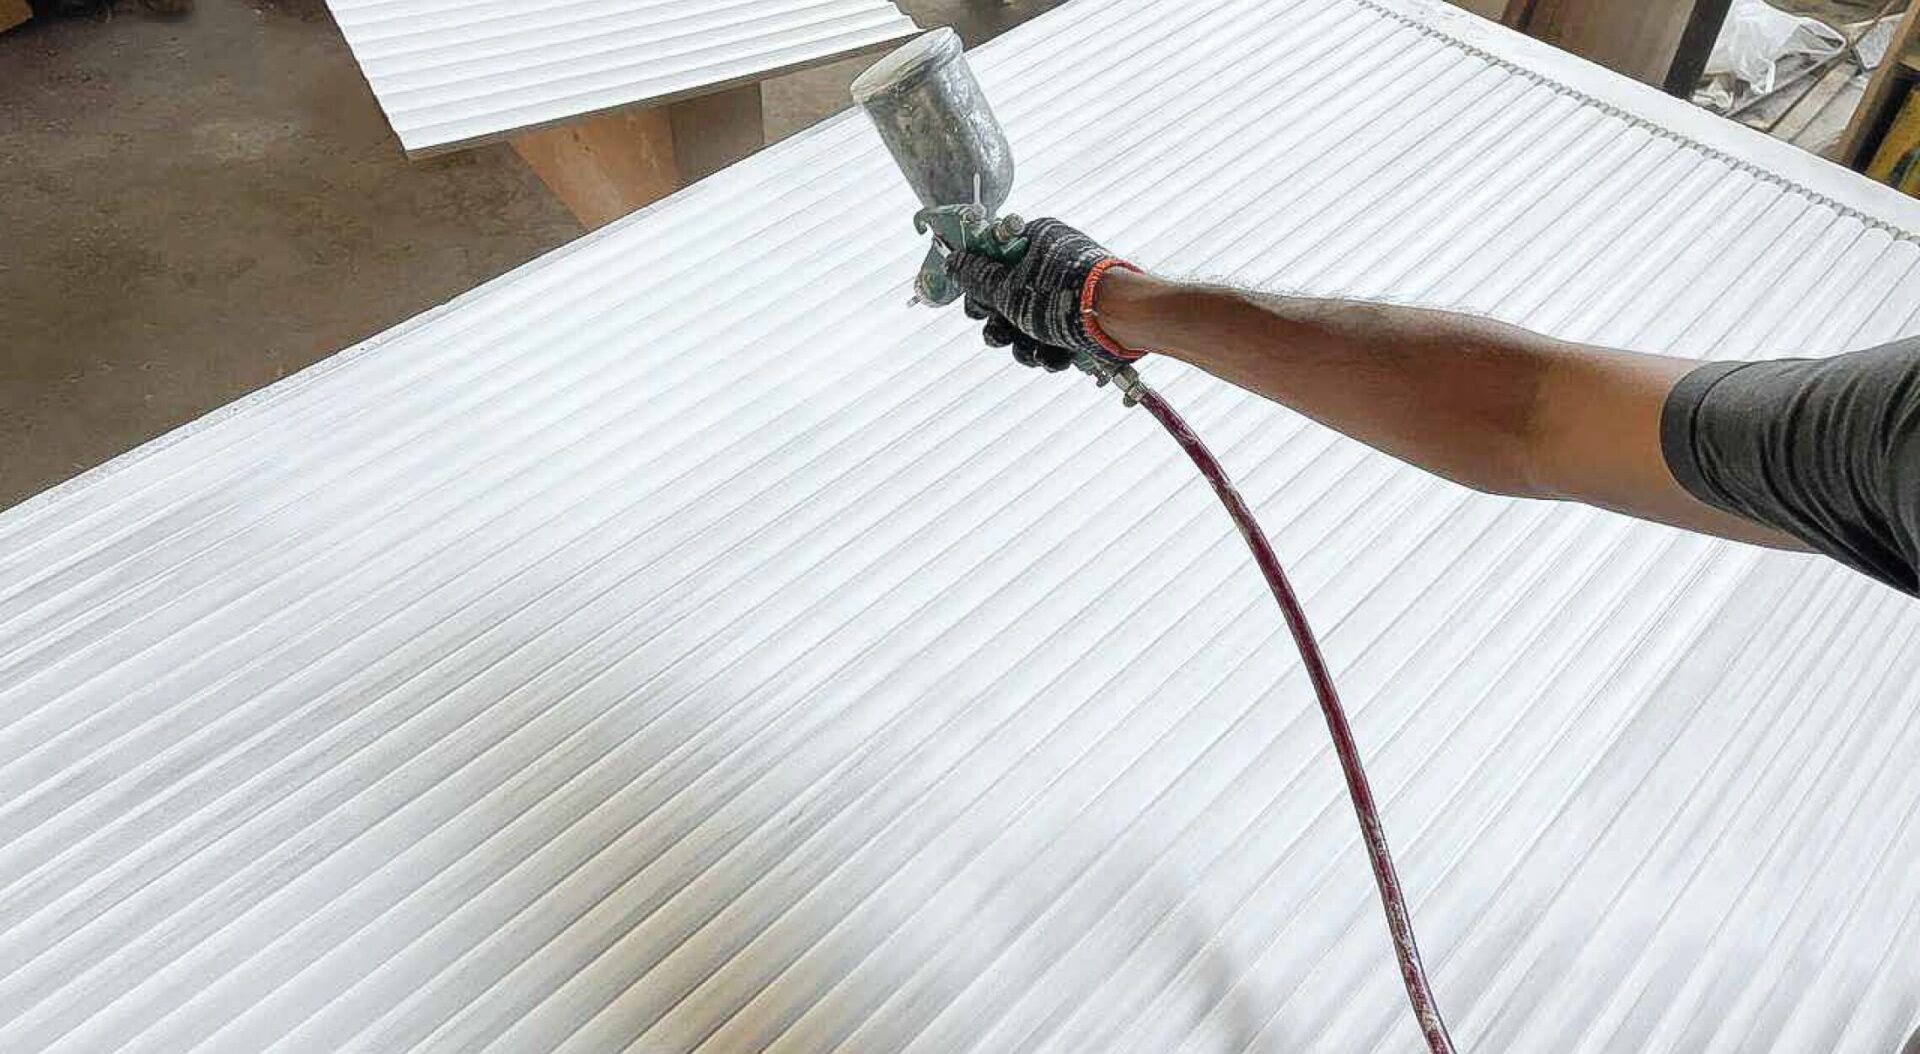
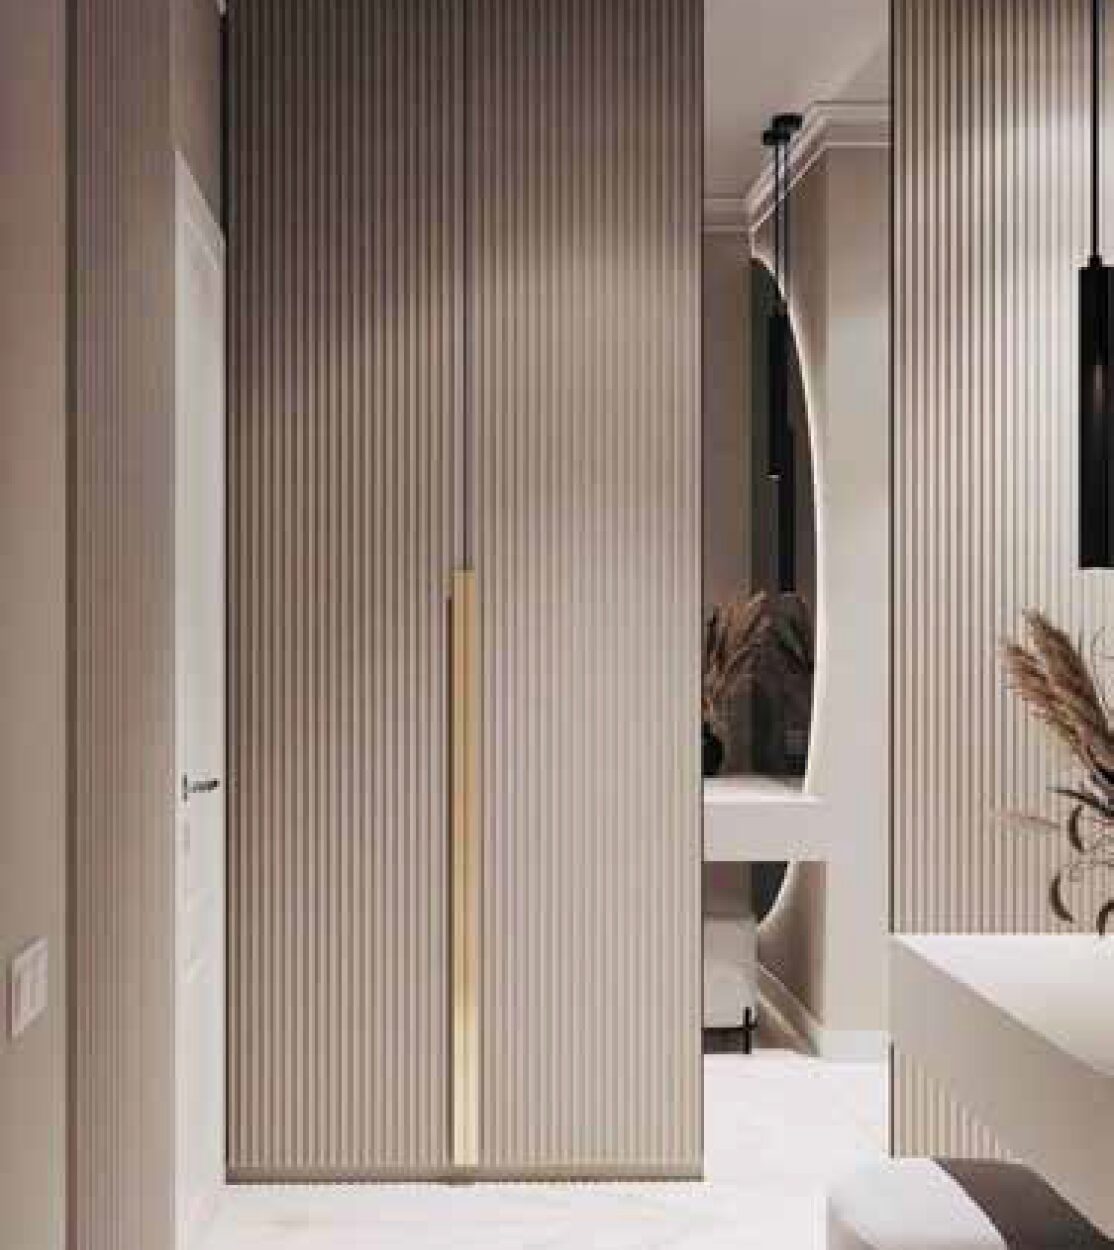
Painting MDF Panels
- All textured MDF panels are supplied raw and unprimed. We recommend you to try your paint finish, apply a base primer and final coat. We recommend using primer, paint and finish from the same paint manufacturer. Follow the paint manufacturer’s instructions for best results.
- We recommend sanding the MDF’s raw surface with 180. If a smoother finish is required, sand with 320 grit.
- Apply a few coats of sanding sealer, preferably 2 coats before primer. *Do not use paint thinner when using air paint sprayer.
- The use of lacquer paint (solvent based paints) is highly encouraged. Allow each layer to dry adequately in between applications.